
Learn how to choose the best camping water filter with real-life tips, expert insights, and personal stories. Ensure safe drinking water on every outdoor trip.
Why Choosing the Right Camping Water Filter Matters
There’s nothing quite like waking up in the wild — coffee brewing over a camp stove, crisp mountain air, birdsong instead of traffic. But that bliss fades fast if your only water source is a questionable stream. I’ve learned that the hard way, which is why picking the right camping water filter became one of the most important lessons in my outdoor life.
When I started backpacking with my kids in the Pacific Northwest, I assumed boiling water was enough. That worked for weekend trips close to car access, but it wasn’t sustainable for longer journeys. After a bad bout of stomach trouble on a trip in Utah — yes, I’ll spare you the gory details — I knew it was time to seriously research water purification options for campers like me.
Understanding What You’re Filtering: The Big Three Contaminants
1. Bacteria
Rivers and lakes may look pristine, but they often harbor harmful bacteria like E. coli and Salmonella. These can cause severe gastrointestinal issues — not ideal when you’re miles from the nearest bathroom. Most water filters on the market will handle these threats effectively.
2. Protozoa
Giardia and Cryptosporidium are common protozoa found in natural water sources. These organisms are larger than bacteria, and most quality camping filters are designed to remove them. I once shared a campsite with a group of hikers who had to cut their trip short after a Giardia outbreak — it was a painful reminder of why water safety matters.
3. Viruses
Viruses are the smallest and trickiest to remove. In North America, the risk is lower, but if you’re camping in international or high-risk areas, you’ll need a purifier rather than just a filter. Some systems use chemical treatments or UV light to handle viruses effectively.
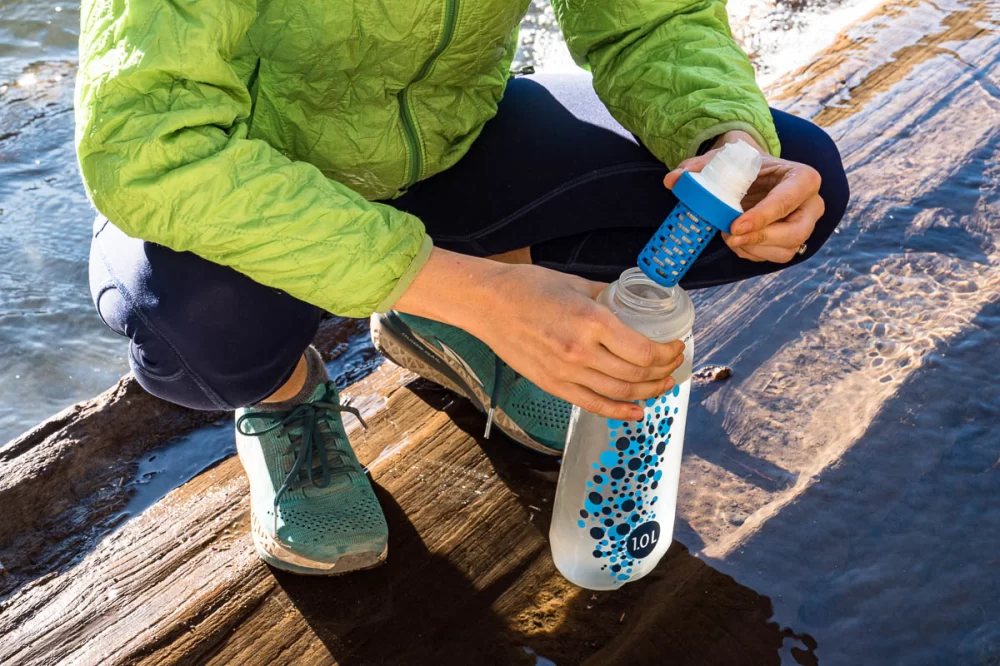
Types of Camping Water Filters: My Real-World Experiences
1. Pump Filters
Pump filters were my first foray into water filtration. I used one on a trip through Glacier National Park. It worked well, but it was slow and required a fair bit of elbow grease. After a long hike, the last thing I wanted was a mini workout just to get water. Still, it filtered everything we needed and didn’t break the bank.
2. Gravity Filters
Now, this is a game changer for families or groups. On a weeklong trip through the Adirondacks, we used a gravity system that hung from a tree while we set up camp. It did all the work while we unpacked and cooked. If you're staying in one spot for a few days, this is one of the most convenient and low-effort options available.
3. Straw Filters
For solo hikes and emergencies, I always keep a straw-style filter in my daypack. I remember a hot July hike in the Grand Canyon — I ran out of water halfway through. Thankfully, I had my straw filter and was able to safely drink from a shaded creek. These are cheap, ultra-portable, and ideal for just-in-case scenarios.
4. UV Purifiers
I picked up a UV purifier after a gear expo and was skeptical at first. But it worked surprisingly well on my trek through the Smokies. It requires batteries, which is a drawback, but the ease of use — stir for 90 seconds and done — is unbeatable. It also kills viruses, which most filters can’t.
How to Choose the Right Filter for Your Trip
1. Consider Group Size
If you’re going solo, a straw or small pump might be perfect. For a group, gravity filters or large-capacity pumps save time and effort. I learned this on a Boy Scouts trip when our tiny personal filters slowed the entire group’s mealtime down to a crawl. Since then, I always scale the system to the group size.
2. Think About Weight and Space
Backpackers, like me, know that every ounce counts. A filter with integrated bottles or collapsible bags can save space. But if you’re car camping, bulkier systems might offer better performance without sacrificing comfort.
3. Know Your Water Source
Fast-moving rivers are often cleaner than stagnant ponds. Muddy or silty water requires pre-filtering. On a trip to Big Bend National Park, we had to filter from a shallow, muddy pool. Without a pre-filter cloth and a sturdy pump, we would’ve been stuck boiling water all night.
4. Check Filter Ratings
Always check the micron rating. A 0.1-micron filter can catch most bacteria and protozoa. If viruses are a concern, look for systems labeled as “purifiers,” not just filters. I always double-check this before heading into less-developed or tropical regions.
Tips I Wish I Knew Earlier
One big lesson: always test your gear at home first. I once brought a brand-new filter on a four-day trek in Colorado — only to find the hose had a tiny leak. Also, bring backups. Tablets or chemical drops weigh nearly nothing and can save your trip if your main filter fails.
Lastly, maintain your filter. Clean it after every trip, let it dry thoroughly, and store it in a dry place. A poorly maintained filter is almost as bad as no filter at all. And don’t forget to check flow rate over time — filters clog slowly, and it’s easy to get caught off guard.
Safe water isn't a luxury out there — it’s a necessity. Whether you’re hiking solo through alpine terrain or camping with your family by the lake, the right water filter can make or break your trip. From personal experience, I can say: it’s worth every ounce and every dollar.
Bakersfield KOA Journey
5025 Wible Rd, Bakersfield, CA 93313, USA
Visit Location PageBow Willow Campground
Julian, CA 92036, USA
Visit Location Page