
Learn how to choose the right sleeping pad repair kit to keep your camping gear functional. Real insights, expert tips, and practical stories to guide outdoor enthusiasts.
- why-you-need-a-repair-kit-for-your-sleeping-pad
- key-components-of-a-quality-sleeping-pad-repair-kit
- matching-the-repair-kit-to-your-sleeping-pad-type
- real-camping-failure-story-and-what-we-learned
- choosing-the-right-repair-kit-for-extreme-weather-conditions
- maintenance-and-preparation-to-extend-your-pad’s-life
1. Why You Need a Repair Kit for Your Sleeping Pad
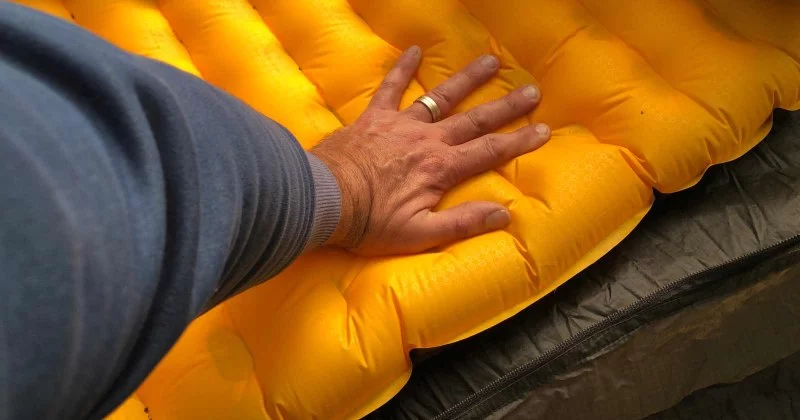
When you’re miles away from civilization with nothing but a tent and a sleeping pad between you and the cold ground, a small puncture can ruin your night—or your entire trip. That’s why choosing the right sleeping pad repair kit is just as important as the pad itself. It’s not about *if* something goes wrong, but *when*. Branches, rocks, and even tent zippers can easily cause small tears or holes in your inflatable sleeping mat.
Many outdoor enthusiasts overlook this piece of gear, assuming their pad is “tough enough.” But even the most durable products are vulnerable. A quality repair kit can save your comfort, your sleep, and potentially your health in cold weather conditions. That level of preparedness gives you peace of mind, and that’s priceless in the wild.
2. Key Components of a Quality Sleeping Pad Repair Kit
Not all repair kits are created equal. A good kit should include a few essentials that address different types of damage. Look for adhesive patches that are flexible and waterproof—vinyl patches are common, but thermoplastic polyurethane (TPU) ones tend to last longer and flex with your pad. Alcohol wipes or cleaning prep pads help ensure the surface is clean before sealing. And always check if the kit includes a durable adhesive or glue that can withstand pressure and moisture.
Bonus tools like a small roller to press down patches or a marker to locate leaks (especially when wet) can be surprisingly useful. Some ultralight kits ditch extras for weight savings, but this may cost you reliability in remote terrain. Make sure you know the trade-offs before choosing your kit.
3. Matching the Repair Kit to Your Sleeping Pad Type
It’s essential to match your repair kit to the specific material of your sleeping pad. For example, closed-cell foam pads rarely need repair kits, but inflatable pads—especially air chambers with fabric coverings—do. If your pad is made from nylon with a TPU laminate, using the wrong adhesive could result in poor bonding or further damage.
Some brands sell branded repair kits, and while they tend to be more expensive, they’re often perfectly matched in adhesive chemistry and patch strength. However, third-party options can work just as well if you know your material specs. If you’re unsure, take your gear to a local outfitter or check the manufacturer’s specs. The team at Pine Cliff Resort can help match kits to your exact gear setup and climate conditions, especially if you're prepping for a multi-day backcountry hike.
4. Real Camping Failure Story and What We Learned
Jason and Mia, an adventurous couple from Colorado, spent weeks planning a winter hike in the San Juan Mountains. On the second night, Mia's sleeping pad deflated rapidly after rolling onto a hidden thorn under her tent. Their repair kit? Just a sticker-style patch meant for pool floats. It didn’t hold in subzero temperatures. The night was spent sharing Jason's pad and sleeping bag—not ideal when it’s 20°F and snowing.
The next morning, they hiked five hours back to their vehicle. “We thought we were prepared,” Jason said. “Turns out we underestimated how technical this stuff can be.” Now, they carry a full repair kit with cold-weather-tested adhesives and spare patches of different sizes and materials. This experience shows that one-size-fits-all doesn’t apply in the backcountry. Invest in a kit that works with your adventure style.
5. Choosing the Right Repair Kit for Extreme Weather Conditions
If you're heading into extreme environments—like alpine zones, deserts, or rainy forests—your repair kit needs to handle specific stressors. In sub-freezing conditions, adhesives can become brittle and fail. In humid areas, moisture can interfere with patch bonding. Look for kits labeled as cold-weather compatible or with multi-condition adhesives.
Some kits even come with UV-resistant patches, useful if you're trekking in high-exposure zones. And if you’re packing ultralight for thru-hikes like the Appalachian Trail or the Pacific Crest Trail, modular kits let you carry only what you need. This is where consulting experts—like those at Pine Cliff Resort—pays off. They help outdoor travelers customize their repair gear based on where they're going and what they’re sleeping on.
6. Maintenance and Preparation to Extend Your Pad’s Life
A solid repair kit is vital, but it’s better not to use it in the first place. Regular maintenance can dramatically extend the life of your sleeping pad. After each trip, inspect your pad for micro-leaks by inflating it and using soapy water or a submersion test to find bubbles. Store the pad loosely rolled or hanging, away from direct heat or UV rays.
Avoid folding the pad along the same creases every time—this weakens the material. And never store it compressed. For inflatable pads with internal insulation or down, be sure they are completely dry before storage to avoid mold or degradation. A quick monthly check ensures you spot problems early—when a small patch can still save the day.
Camping, hiking, or even weekend trips to the lake can throw curveballs. But with the right sleeping pad repair kit—and the knowledge to use it—you’re always one step ahead. Don’t let a minor puncture turn into a major problem. Prep smart, sleep well, and enjoy the wild wherever it takes you.
White Ledge Campground
Santa Paula, CA 93060, USA
Visit Location PageWooden Shoe Campground
6625 Bridge St, Ellsworth, MI 49729, USA
Visit Location Page