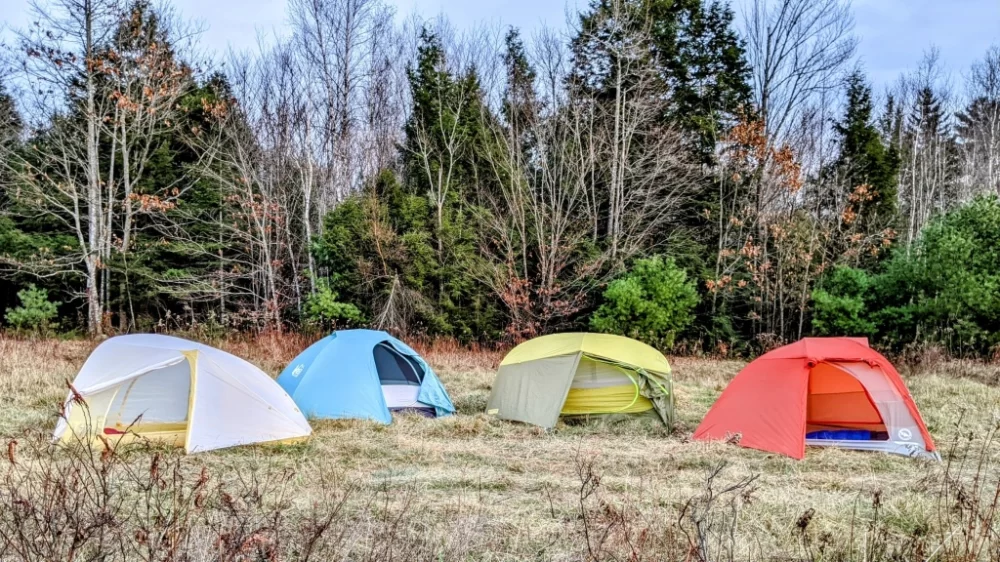
Master the art of setting up a tent like a pro with this step-by-step guide. Learn essential tips, common mistakes to avoid, and expert techniques for a perfect campsite setup.

How to Set Up a Tent Like a Pro – A Step-by-Step Guide
- Choosing the Right Tent
- Picking the Perfect Campsite
- Essential Gear for Tent Setup
- Step-by-Step Tent Setup Guide
- Common Mistakes and How to Avoid Them
- Expert Tips for a Better Camping Experience
1. Choosing the Right Tent
The key to a successful camping experience starts with selecting the right tent. Consider the following factors:
- Capacity: Choose a tent that accommodates your group comfortably. A two-person tent might feel cramped with gear inside.
- Seasonality: A three-season tent works for most trips, while a four-season tent is essential for winter camping.
- Ease of Setup: Freestanding tents are the easiest to pitch, making them ideal for beginners.
- Weight: If you're backpacking, opt for a lightweight tent. Car campers can afford to carry heavier, more spacious options.
2. Picking the Perfect Campsite
Location is everything when setting up a tent like a pro. Follow these guidelines to find the best spot:
- Flat and Dry Ground: Avoid slopes, rocky areas, and low spots where water can collect.
- Wind Protection: Set up near natural windbreaks like trees or hills, but avoid dead branches overhead.
- Sunlight vs. Shade: In summer, pitch your tent in partial shade to stay cool. In cold weather, maximize morning sunlight.
- Distance from Water: Camp at least 200 feet from lakes and rivers to prevent flooding and respect nature.
3. Essential Gear for Tent Setup
Having the right tools makes pitching a tent easier. Here's what you’ll need:
- Ground tarp or footprint: Protects the tent floor from moisture and sharp objects.
- Stakes and guylines: Keep your tent secure, especially in windy conditions.
- Mallet or stake hammer: Helps drive stakes into hard ground.
- Extra poles and repair kit: Useful for emergencies.
4. Step-by-Step Tent Setup Guide
Follow these steps to pitch your tent effortlessly:
Step 1: Lay Down a Tarp
Spread a tarp slightly smaller than your tent’s footprint to prevent water from pooling underneath.
Step 2: Unpack and Assemble Poles
Lay out all tent components. Connect and insert poles according to the manufacturer’s instructions.
Step 3: Raise the Tent
Attach the poles to the tent body, either by inserting them into fabric sleeves or using clips.
Step 4: Secure with Stakes
Drive stakes at a 45-degree angle into the ground, ensuring the tent is taut and stable.
Step 5: Attach the Rainfly
If rain is expected, secure the rainfly over the tent and tighten guylines for added protection.
5. Common Mistakes and How to Avoid Them
Even experienced campers make mistakes. Here are some common ones and how to fix them:
- Skipping the Ground Tarp: Leads to a wet and dirty tent floor.
- Ignoring Wind Direction: Always face the tent’s strongest part into the wind to prevent collapse.
- Loose Guylines: Tighten them properly to keep the tent stable in bad weather.
- Overlooking Ventilation: Keep vents open to reduce condensation inside the tent.
6. Expert Tips for a Better Camping Experience
Beyond setting up a tent, here are some pro-level tips to enhance your trip:
- Use a Sleeping Pad: Adds insulation and comfort for a restful night.
- Store Food Properly: Keep food in bear-proof containers if camping in wildlife areas.
- Bring a Headlamp: Makes nighttime setup and navigation easier.
- Test Setup at Home: Practice pitching your tent before heading out to avoid surprises.
Eagle Cap Ranger District - Wallowa Mountains Office
201 E 2nd St, Joseph, OR 97846, USA
Visit Location PageBoundary Campground
1512 N Gate Rd, Walnut Creek, CA 94598, USA
Visit Location Page