
Learn how to make the most of your photography hikes near your campsite! Discover tips, tricks, and fun stories on capturing nature’s beauty with your camera.
How to Enjoy Photography Hikes Near Your Campsite
One of the most memorable experiences I’ve had while camping was the time I decided to take my camera along on a hike near our campsite. I had always loved photography, but something about being surrounded by nature made the moments even more magical. From towering trees to serene lakes and stunning mountain views, capturing the beauty of the outdoors is a thrilling experience that can add a whole new dimension to your camping trip. If you’re planning to take a photography hike near your campsite, here’s how to make the most of it and ensure you’re prepared to capture those perfect moments.
1. Choose the Right Trail for Photography
The first step in enjoying photography hikes near your campsite is choosing the right trail. Not all trails are created equal when it comes to photography opportunities. Look for trails that offer a variety of landscapes—whether it’s a winding stream, a dense forest, or a panoramic viewpoint. These will give you a chance to experiment with different types of shots and angles. For example, I once hiked a trail that passed through a beautiful meadow, offering a perfect blend of wildflowers, tall grasses, and distant mountains. The contrast between these elements made for some stunning photos, and it was one of the highlights of my trip.
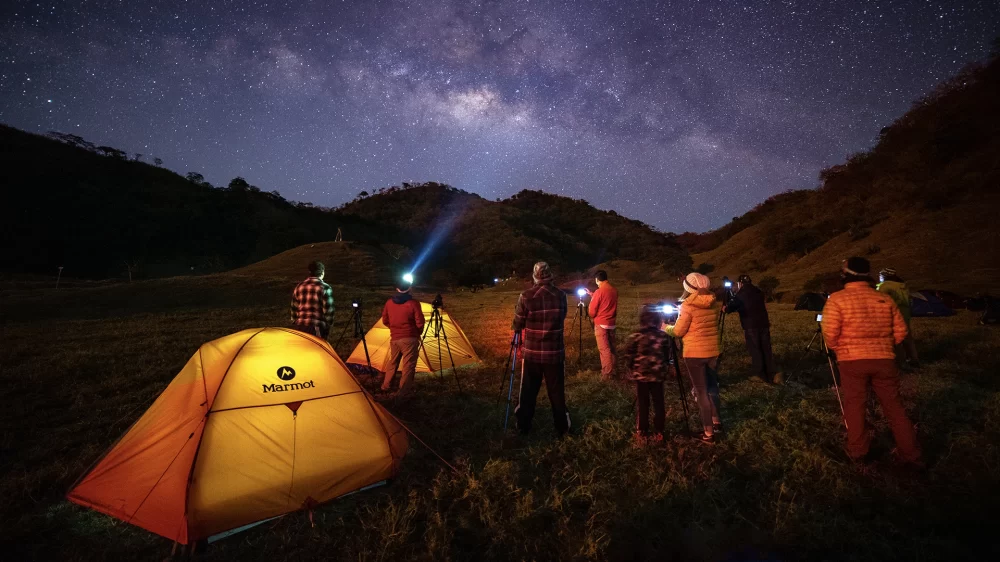
2. Time Your Hike for the Best Lighting
Lighting is everything in photography, and it’s especially important when you’re out on a hike capturing the natural world. Early morning and late afternoon (known as the golden hour) offer the best lighting for outdoor photography. The soft, warm light enhances landscapes and creates long shadows that add depth to your images. I remember one morning when I woke up early to hike up a hill near our campsite, just as the sun was rising. The mist from a nearby lake hung in the air, and the golden light hit the trees in such a way that every shot I took seemed to capture a perfect moment. Don’t forget to check the weather forecast as well, as cloudy days can create soft, diffused light ideal for capturing textures and details.
3. Prepare Your Camera Gear
While hiking, the last thing you want is to be weighed down by a heavy camera bag or carry unnecessary equipment. That said, it’s important to bring the right gear to capture the stunning scenes around you. Here’s what I recommend:
- DSLR or Mirrorless Camera: These offer the best quality and flexibility for outdoor photography, but if you’re looking for something lighter, a good quality point-and-shoot camera can still do the job.
- Lenses: A wide-angle lens is essential for landscape shots, while a telephoto lens is great for wildlife or distant scenery. I personally prefer a 24-70mm lens for versatile shooting.
- Tripod: A lightweight tripod is essential for capturing sharp, long-exposure shots, especially in low-light conditions.
- Extra Batteries and Memory Cards: Nature doesn’t wait, and you don’t want to miss the perfect shot because your battery died or your memory card filled up.
Always make sure to keep your gear clean and protected from the elements. I’ve had a few close calls where dirt and water from a stream threatened to ruin my camera, so I always carry a protective case for my equipment.
4. Capture the Details, Not Just the Big Picture
While sweeping landscapes and panoramic views are always beautiful, don’t forget to focus on the smaller details around you. Sometimes, it’s the little things—a dewdrop on a leaf, the texture of tree bark, or a bird perched on a branch—that make the most striking photos. I once spent an entire afternoon capturing the intricate patterns of frost on a rock near our campsite. The more I looked at the world through my camera lens, the more I realized that beauty exists in every little corner of nature. Experiment with close-up shots to bring out the texture and patterns that often go unnoticed.
5. Get Creative with Composition
One of the best aspects of hiking and photography is the opportunity to experiment with different compositions. Don’t just aim to capture what you see; instead, try to create a story with your photos. Use leading lines (such as trails, rivers, or fences) to guide the viewer’s eye through the photo, or frame your shot with natural elements like tree branches or rocks. I’ve also enjoyed using reflections in water to create symmetrical compositions, which can add an artistic touch to any landscape.
6. Respect Nature and Wildlife
While photography hikes are incredibly rewarding, it’s important to remember that you’re in a natural environment. Respect the wildlife and the landscape around you by following ethical photography practices. Never disturb animals, and always keep a safe distance when photographing wildlife. I once had a close encounter with a curious fox that wandered right into my shot. It was an unforgettable experience, but I made sure to stay still and not approach the animal. Additionally, follow Leave No Trace principles to minimize your impact on the environment.
7. The Joy of Sharing Your Photos
After a long day of hiking and shooting, there’s a great sense of accomplishment when you review your photos and see the beauty you’ve captured. I love sharing my images with friends and family, but there’s something especially rewarding about showing off your nature shots to fellow campers. I once showed my photos to a group of hikers I met along the trail, and we spent hours discussing the best spots to capture certain views. It’s a great way to bond with others who share your love for both hiking and photography.
If you’re planning a photography hike near your campsite, be sure to check out Pine Cliff Resort for the perfect location. The natural beauty and diverse landscapes provide endless opportunities for stunning photography.
Newhalem Creek Campground
Marblemount, WA 98267, USA
Visit Location PageYellow Post Site #2
Fawnskin, CA 92333, USA
Visit Location Page