How to Make a DIY Camping Lantern: Easy, Fun, and Practical Camping Light Ideas
- Why DIY Camping Lanterns Are a Great Idea
- Materials Needed for Your DIY Camping Lantern
- Step-by-Step Guide: Making a Simple DIY Camping Lantern
- Advanced DIY Camping Lantern Ideas
- DIY Lantern Tips: Maximizing Your Camping Light
- Where to Use Your DIY Camping Lantern
Why DIY Camping Lanterns Are a Great Idea
When camping in the great outdoors, having a reliable light source is essential. While there are plenty of commercial camping lanterns available, making your own DIY camping lantern offers several advantages. Not only is it a fun and creative project, but it can also be tailored to your specific needs—whether you're looking for an eco-friendly option, a lightweight lantern, or something that fits perfectly with your camping gear.
Building a camping lantern yourself also allows you to personalize it, and it can even become a conversation starter around the campfire. Plus, DIY lanterns are often cheaper than store-bought alternatives, and you can use materials you already have around the house. It’s a win-win for both your wallet and your creativity.
Materials Needed for Your DIY Camping Lantern
Before you start building your lantern, you’ll need to gather a few materials. The good news is, most of the items are easy to find or repurpose from everyday objects. Here’s a basic list of materials you’ll need:
1. Jar or Container
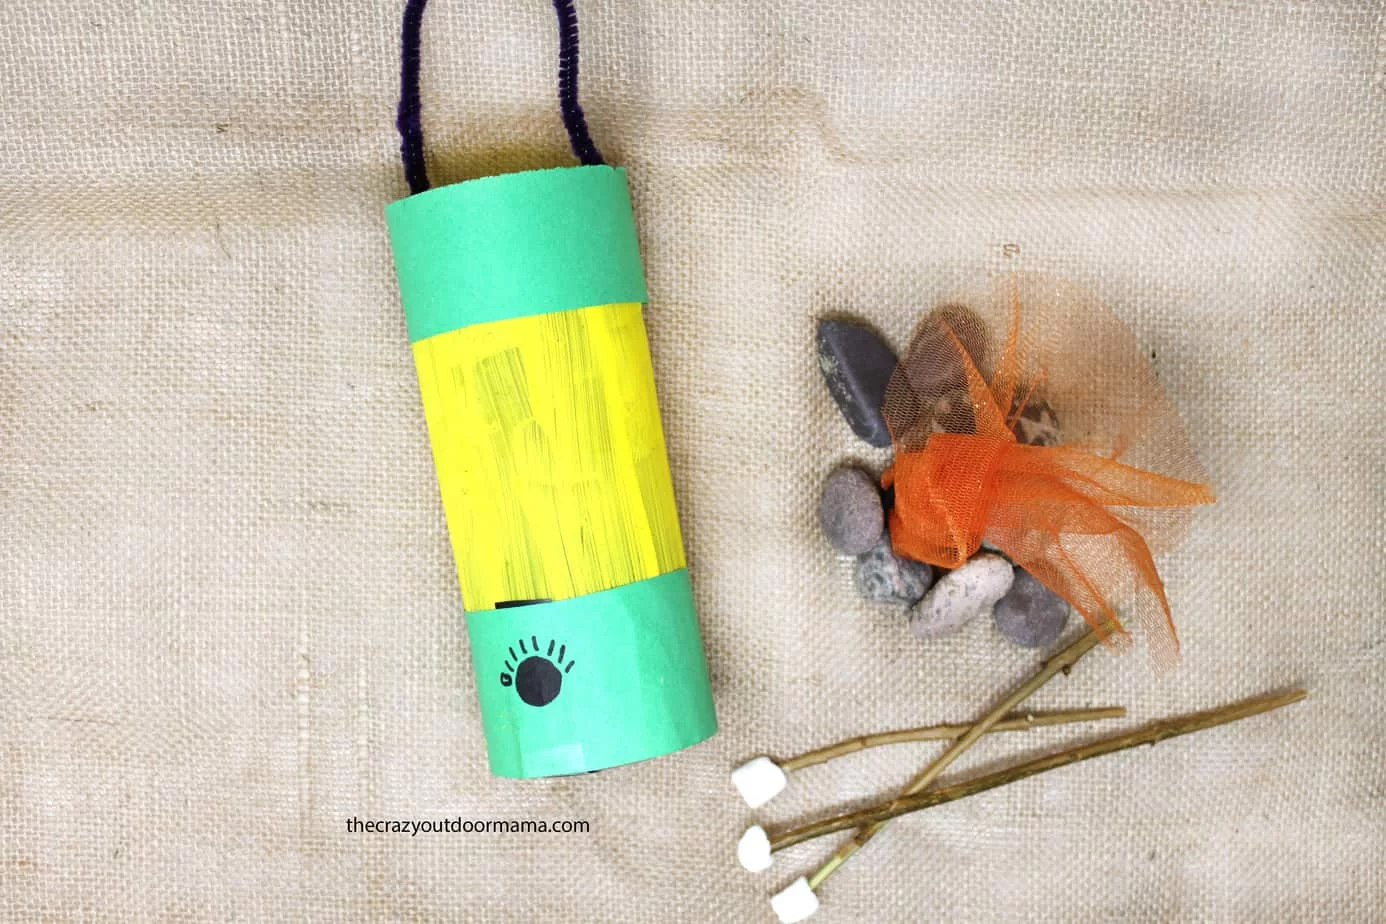
One of the simplest ways to create a DIY lantern is by using a mason jar or any glass jar with a lid. These containers are perfect for housing your light source, and their glass construction provides durability. You can also use a tin can or plastic container if you want to make a more rugged or lightweight version.
2. LED Lights or Tea Lights
For safety and efficiency, LED lights are the best option for your DIY lantern. These lights emit little heat and are energy-efficient, making them ideal for camping. You can also use battery-operated tea lights for a simple option, or if you’re feeling adventurous, you can create a solar-powered lantern.
3. Wire or String (for Hanging the Lantern)
If you want to hang your lantern from a tree branch or tent hook, wire or string is essential. Choose a sturdy wire that can support the weight of the lantern, or use a decorative string to create a more whimsical look.
4. Decorative Materials (Optional)
Get creative with decorative items like paint, stickers, or fabric to personalize your lantern. You can also use reflective tape for added brightness or a fun design.
Step-by-Step Guide: Making a Simple DIY Camping Lantern
Now that you have your materials, it’s time to put everything together! Here’s a simple guide to making your own camping lantern:
Step 1: Choose Your Light Source
Start by selecting the light source for your lantern. A battery-operated LED light is the easiest choice. If you want something more unique, you can opt for a solar-powered light or even a fire-safe candle for rustic charm (but be cautious with fire in the wilderness!).
Step 2: Prepare Your Jar
Clean the jar thoroughly and remove any labels or stickers. If you want to add a decorative touch, you can paint the outside of the jar or cover it with fabric. Some campers like to add sand or stones to the bottom for extra weight, especially if you’re using it on a table or hanging it from a tree.
Step 3: Place Your Light Inside
Place the LED light or tea light inside the jar. If you're using a solar-powered light, position it so the solar panel is exposed to sunlight during the day to charge. For a more sophisticated setup, you can use multiple smaller LED lights to create a more radiant effect.
Step 4: Add the Hanging Mechanism
If you want your lantern to be portable, use wire or string to create a handle. You can wrap the wire around the top of the jar and twist it to form a loop, or you can tie string around the neck of the jar and attach it to a tree branch or hook. Make sure it's secure so that your lantern doesn't fall when hung.
Step 5: Enjoy Your Lantern
Once assembled, your DIY camping lantern is ready to use! Set it on your camp table for a cozy ambiance, or hang it from a tree for extra lighting while you enjoy a night under the stars.
Advanced DIY Camping Lantern Ideas
If you're feeling more adventurous and want to level up your DIY camping lantern, consider these advanced ideas:
1. Solar-Powered Lanterns
Create an eco-friendly camping lantern by incorporating small solar panels into your design. These panels will charge the light during the day, providing you with energy-free lighting by night.
2. Lanterns with Colored Filters
For a more festive feel, try adding colored filters to your lanterns. You can cut out colorful plastic sheets or use stained glass to create vibrant lighting that adds warmth to your campsite.
3. Lanterns with Multiple Light Settings
If you're looking for a multi-functional light, try creating a lantern that has different brightness settings. This way, you can adjust the light depending on whether you need bright light for cooking or a dimmer light for relaxing in the evening.
DIY Lantern Tips: Maximizing Your Camping Light
To make sure your DIY camping lantern is functional and long-lasting, keep these tips in mind:
1. Use Waterproof Materials
Camping often involves exposure to the elements. If your lantern is going to be used outdoors, make sure to use waterproof materials and lights. A sealed mason jar or a waterproof LED light will keep your lantern safe from rain or moisture.
2. Keep Extra Batteries or Solar Panels
If you're using battery-powered lights, always bring extra batteries to ensure your lantern stays lit throughout your camping trip. Solar-powered lights will need to be placed in direct sunlight during the day, so keep that in mind when choosing your camping spot.
3. Be Creative with Materials
Your lantern doesn’t have to look ordinary. Try using materials like bamboo, twine, or even old cans to create unique, rustic lanterns that fit the theme of your camping adventure.
Where to Use Your DIY Camping Lantern
Your DIY lantern can be used in various places around your campsite. Here are some ideas:
1. Around the Campsite
Place your lanterns around your tent, cooking area, and seating spots to create a warm, inviting glow. It’s perfect for those cozy evenings by the campfire.
2. For Night Hiking
If you plan on doing a night hike, take your DIY lantern along for a practical light source. Just make sure it’s securely attached to your backpack or worn on a headlamp.
3. In Your Tent
Inside your tent, a DIY lantern is a great way to provide ambient light for reading, playing cards, or simply enjoying the quiet of the night. It’s a safer, more portable alternative to candles or gas lamps.
If you’re ready to start planning your next camping trip and need the perfect DIY lantern for your adventure, make sure to check out Pine Cliff Resort for fantastic camping destinations and memorable experiences.


